Single Sign-On with OneLogin
RemotePC Team and Enterprise plan users can use Single Sign-On (SSO) for accessing their account. Admin of the accounts can choose a SAML 2.0 identity provider (IdP) to login to your RemotePC account without having to remember another password.
To setup Single Sign-On (SSO) with OneLogin, the admin needs to:
- Create an app on OneLogin Console
- Assign users to the app
- Configure RemotePC account for Single Sign-On (SSO)
To use OneLogin as an identity provider for SSO, you need to create an app on OneLogin console.
To create the app,
- Login to the OneLogin console using your OneLogin account credentials.
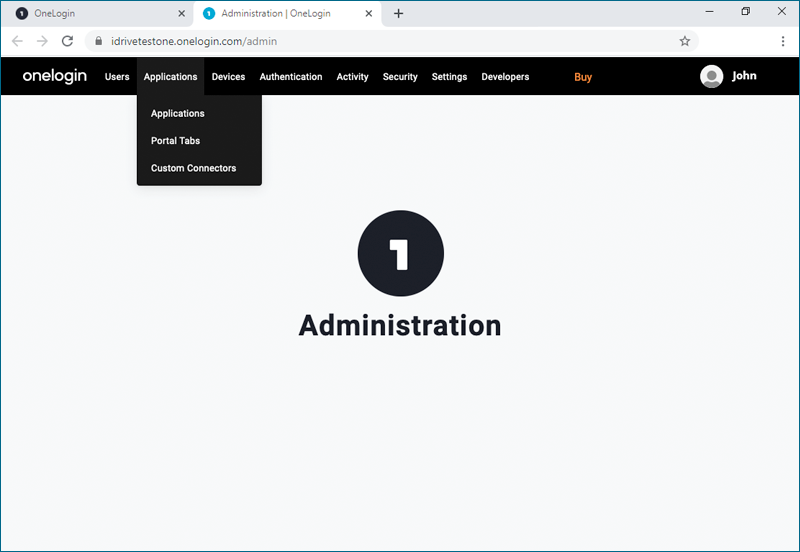
- Click 'Administration' on the top right corner to view your admin console.
- Select 'Applications' from the top menu.
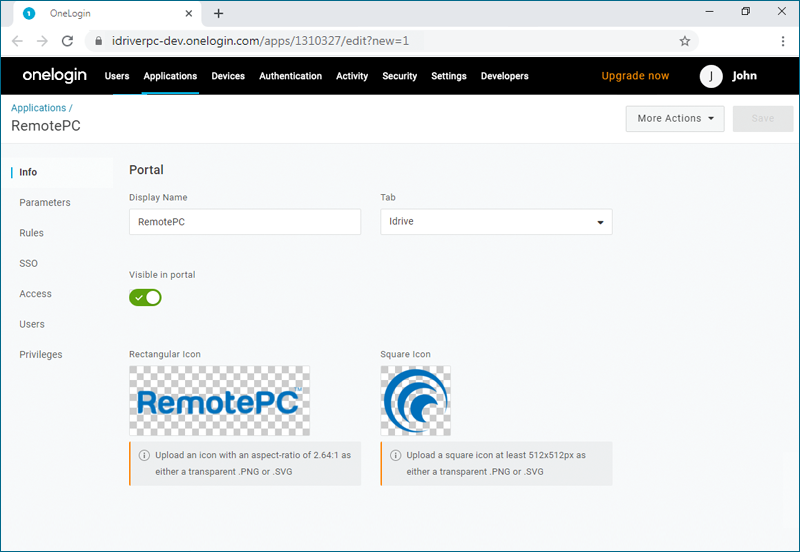
- Click the 'Add App' button and search for 'RemotePC', then click the app to add.

- Click 'Save' to add the RemotePC app to your Application list.
To enable SSO for user accounts, admin needs to assign users to the app created on OneLogin console.
To assign users to the OneLogin app,
- Navigate to the OneLogin admin console and select 'Users' from the top menu.
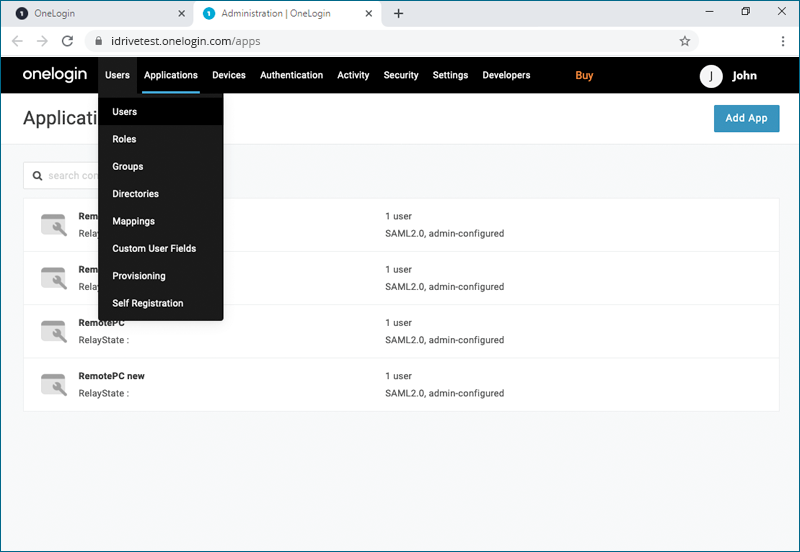
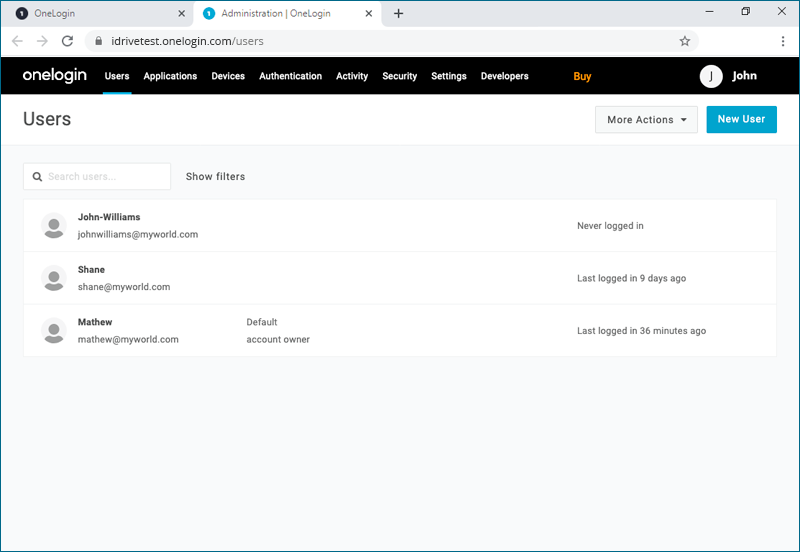
- Click on the user you would like to add to the app or click 'New User' to add a new user profile and click 'Save User'.
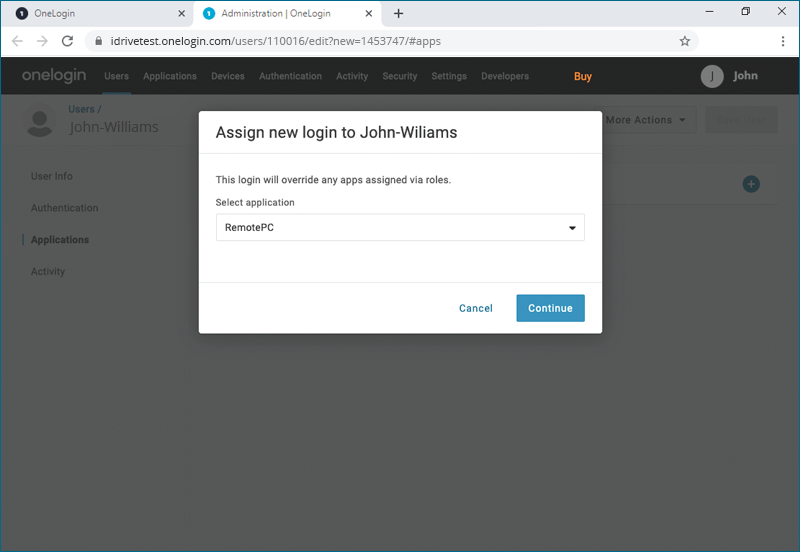
- On the user profile, go to the 'Applications' tab and click
 to select the app from the drop-down list and click 'Continue'.
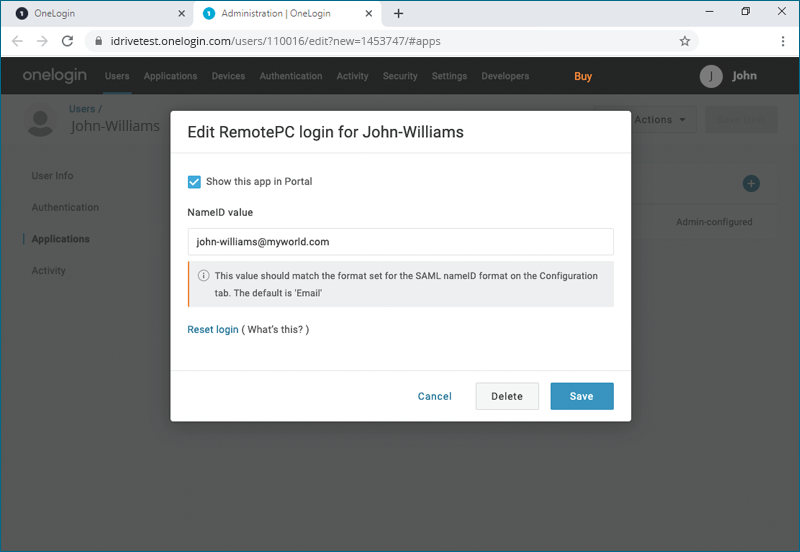
- Verify the 'NameID value' and click 'Save'.
Note: The 'NameID value' needs to be an email address.
Admin needs to provide the received SAML 2.0 URLs and Certificate in the Single Sign-On application from the RemotePC web interface.
To configure SSO,
- Login to RemotePC via web browser.
- Click the username displayed on the top-right corner and click 'My Account'.
- Click 'Single Sign-On'.
- Enter a name for your SSO profile.
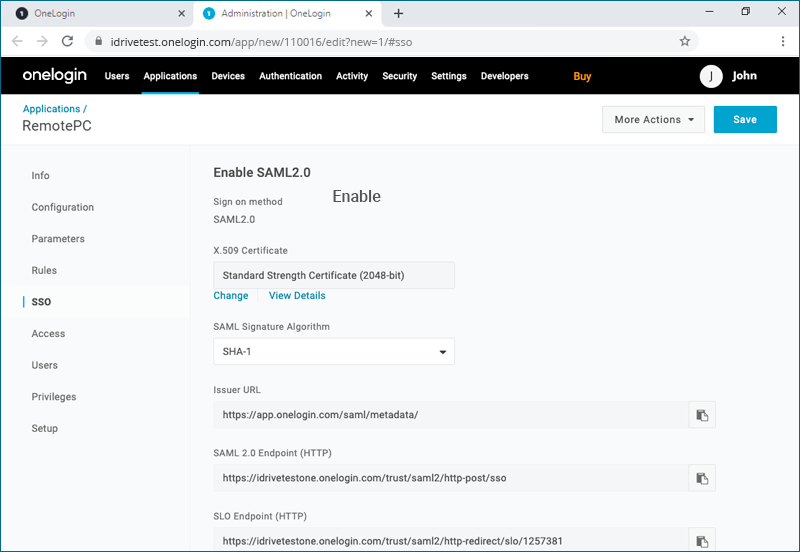
- Enter the 'Issuer URL', 'SAML 2.0 Single Sign-On Login URL' and add the 'X.509 Certificate' received from your newly created app on OneLogin console.
Note: For X.509 certificate, select 'View Details' and click
 to copy. Paste it to the 'X.509 Certificate' field on RemotePC.
- Click 'Configure Single Sign-On'.
You will receive an email when SSO is enabled for your account.